Bing has made updates to its consent mode, which affect how cookies are managed for tracking and analytics. Below is a quick way to get conversions back, but only if you have Google Tag Manager in place.
“Without the required consent signals in the UET configuration, conversions may not be tracked or optimised, and audience segments will not be created. This will result in incorrect reporting and hinder the effectiveness of bid strategies and Performance Max, impacting long-term campaign performance.”
Microsoft regarding the Consent Mode
If you have the consent mode implemented (via Google Tag Manager) the UET won’t automatically enable the consent mode detection.
Microsoft Advertising will update its end-user consent requirements on 30th September 2024, affecting advertisers with users in the EEA, Switzerland, and the UK.
Piotr
Based on Microsoft’s documentation we have to add this:
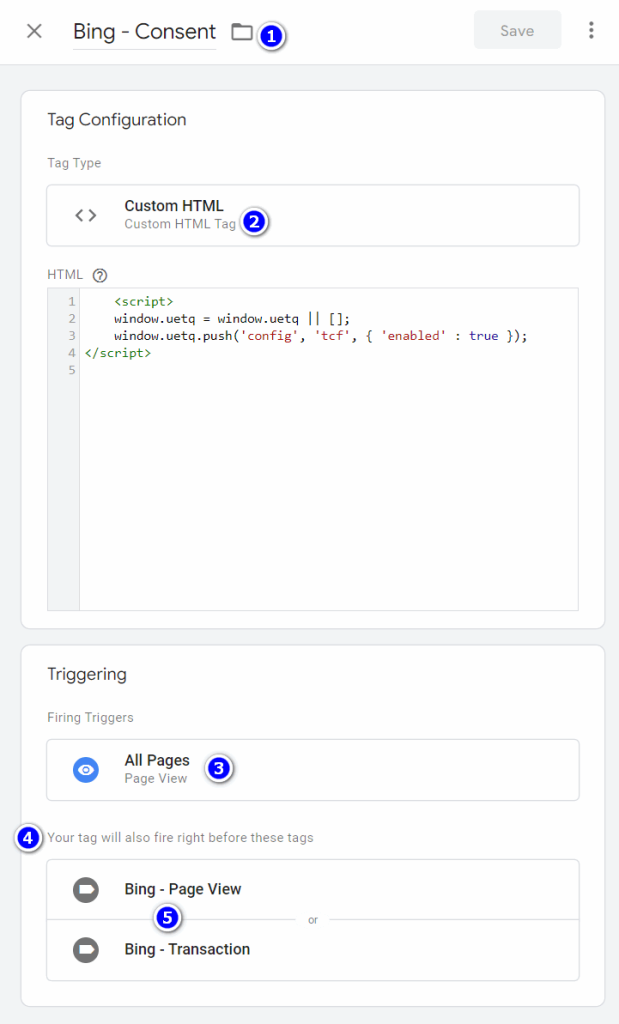
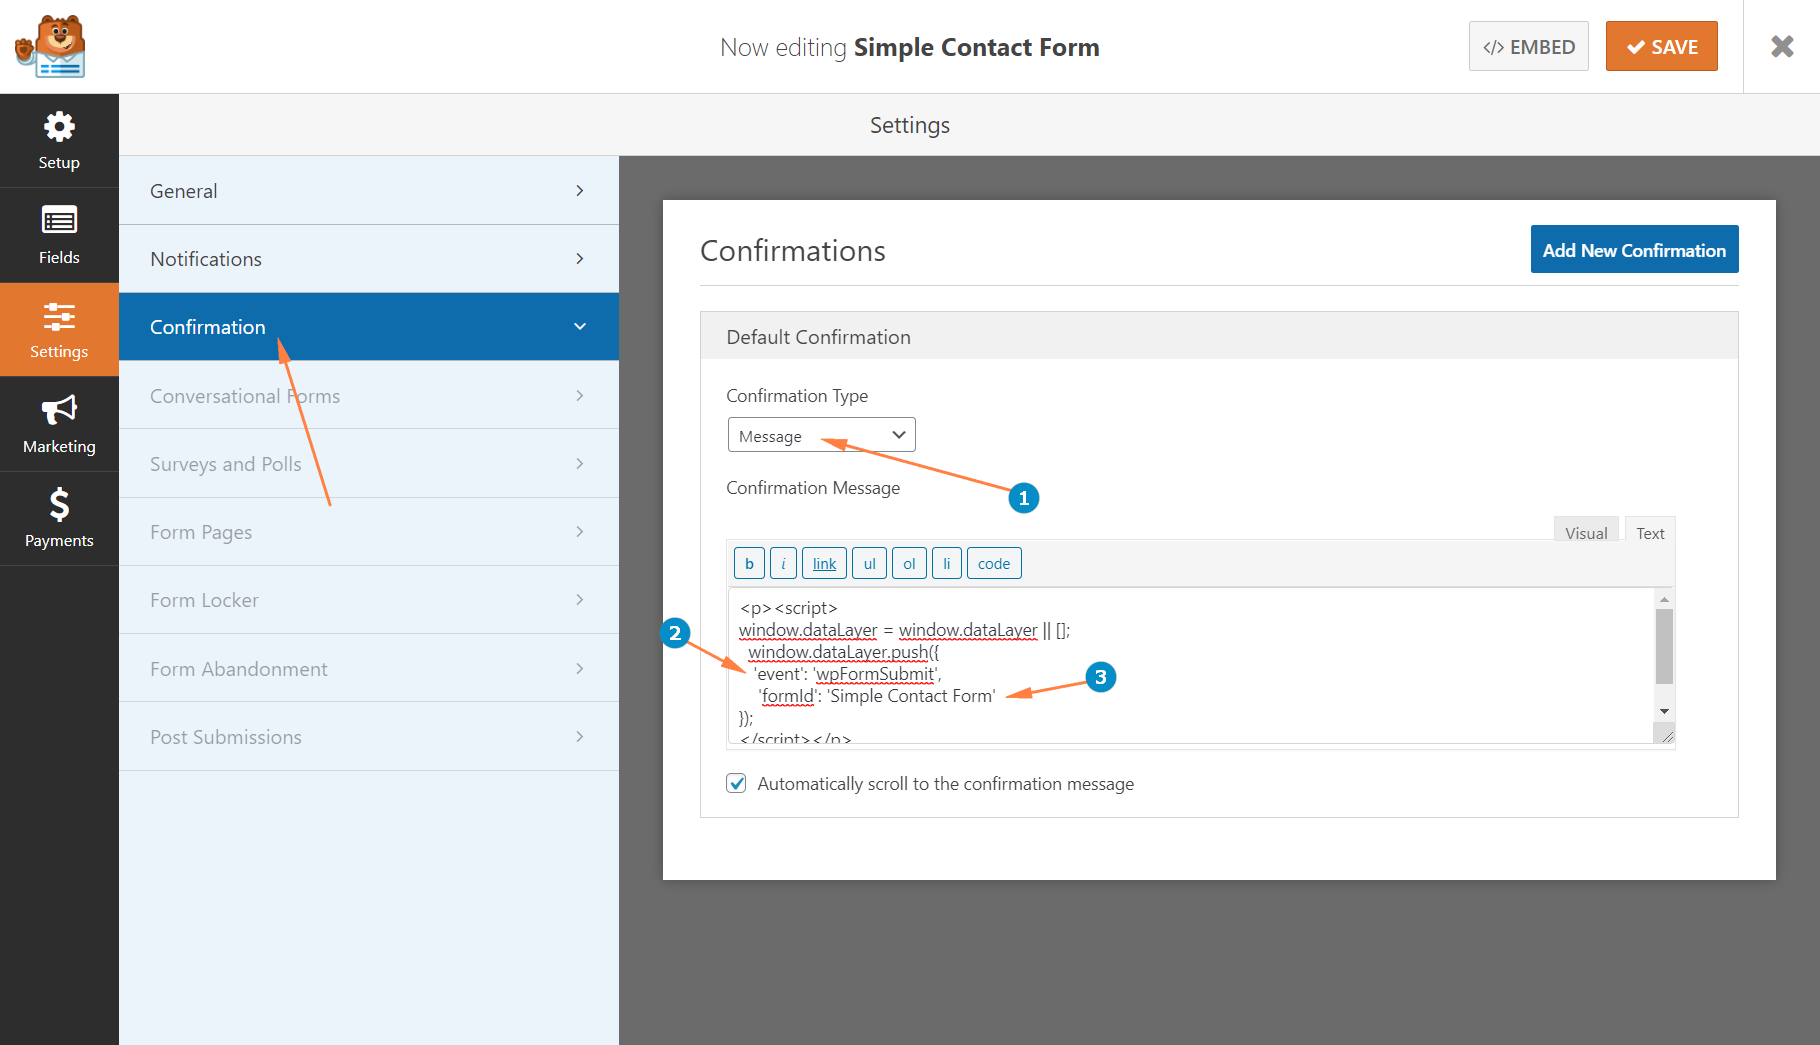
#1 Create new tag – Custom HTML
#2 Paste the below code to indicate that consent signals can use the TCF v2.0 CMP (latest Consent Management Platform)
<script>
window.uetq = window.uetq || [];
window.uetq.push('config', 'tcf', { 'enabled' : true });
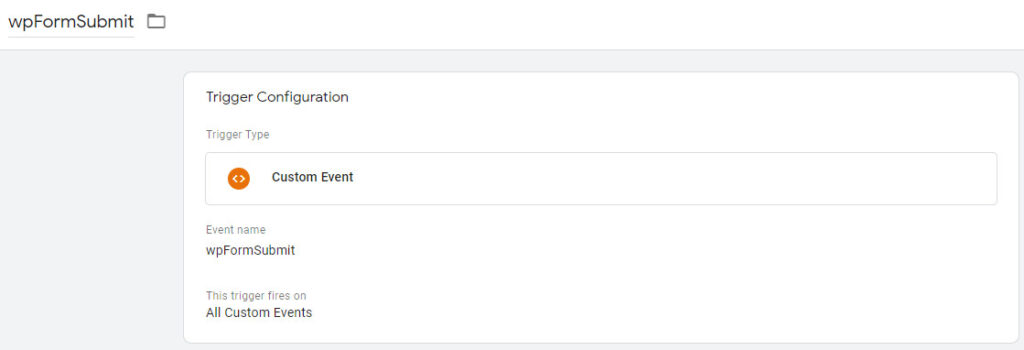
</script>#3 Set the tag’s trigger on All Pages where the Bing should fire
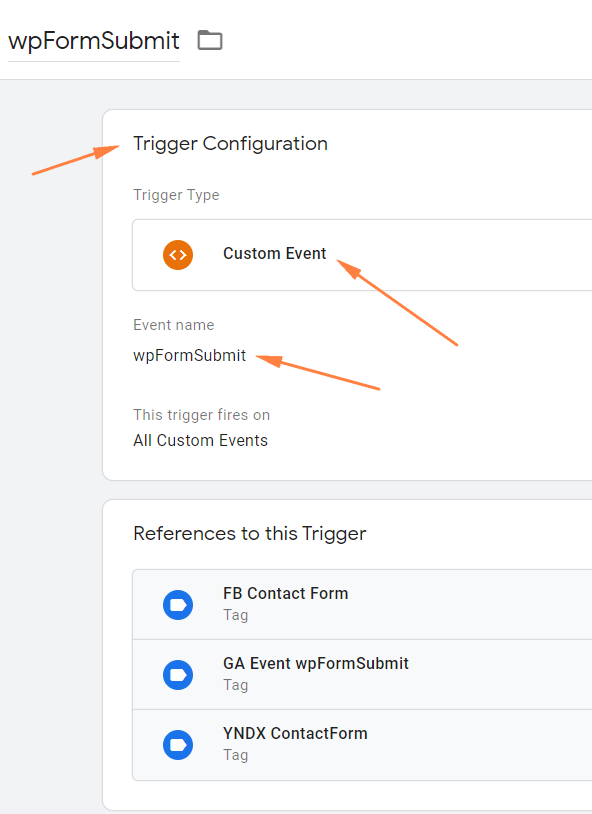
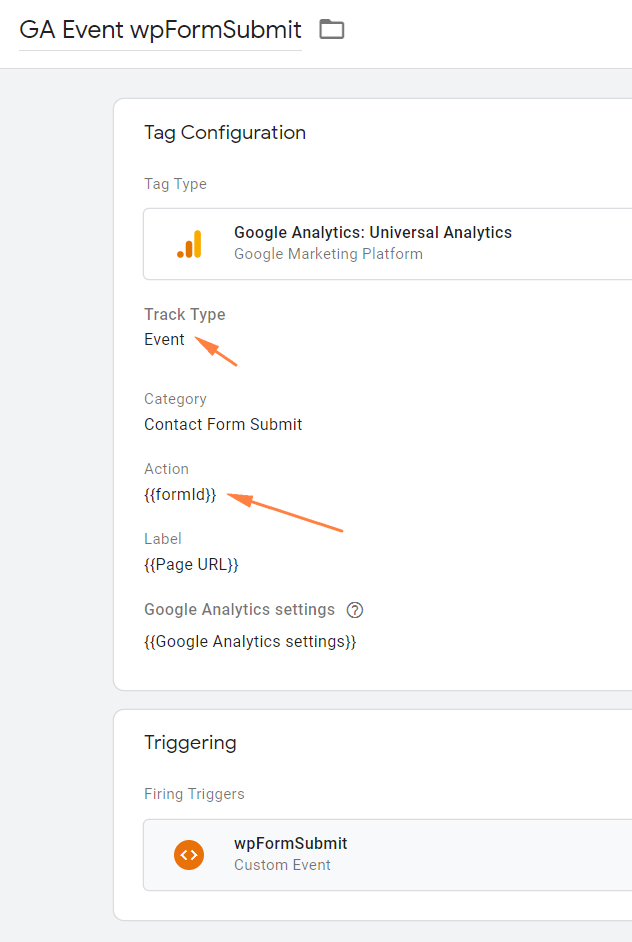
#4 Enable tag sequencing on other Bing tags (i.e. Page View, Transaction) – so the “Bing – Consent” tag fires before them.
In Google tag manager set the Tag Sequencing to fire the “Bing – Consent” tag before the “Bing – Transaction” fires:
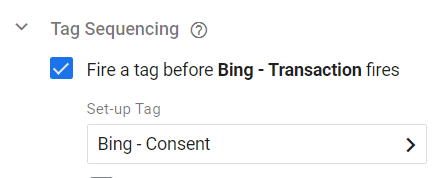
Same to do with all other Bing tags like “Bing – Page View”.
To close this post, let’s quote the reason for it.
You will need to implement changes to your UET tag to ensure consent signals are being passed to Microsoft.
Microsoft